• Home
  • About
  • Shop
    • BOOK SLEEVES | BIBLE COVERS
    • COSMETIC BAGS
    • HAIR BOWS
    • Scrunchies
      • Empress
      • Queen
      • Princess
      • Duchess
    • My account
  • Blog
    • Homeschool
    • Family
    • Lifestyle
  • Contact
  • My account
  • 0 items

Marytha

Curated and Crafted Women Accessories

June 14, 2018

Homeschooler’s Guide to Printing Digital Curriculum

homeschooler's guide to printing digital curriculum

In my previous post, Homeschool Curriculum Reveal, I gushed about homeschool digital curriculum. Now, what is digital curriculum?  Digital Curriculum is basically a printable (i.e. PDF) version of the actual book.  In this post, I will share with you why we chose them and a comprehensive guide on printing digital curriculum.

We are based in the UAE and shipping books from the US can be a bit expensive.  We found that printing digital copies is more affordable than buying a physical book.  Aside from the shipping cost, we love that workbooks and consumable activity packs can be re-used by younger siblings or printed in numerous copies (within a single family).  For homeschoolers with 3-5 kids, the initial investment will pay off in the long term.

We started printing only the pages we needed for a week and put them in the binder.  Oh boy, it was so much work!  This momma’s got to find a better way.  So we printed them all in one go!  We no longer have to hunt down for missing pages of our science curriculum, only to find out our little toddler has chucked them in the bin after he made his dinosaur squiggles.

We only print workbooks or textbooks though and not the teacher manuals.  Some homeschoolers prefer not to print them at all to save on ink and paper.

If you choose to print your digital curriculum, keep reading as I talk more about printers, paper type, and binding.  I have also added a quick tutorial on how to make your printed curriculum covers sturdier.

Printer

There is a lot out there on the market to choose from.  But here’s what to keep in mind – find out your printing needs before making an investment.  We print a lot and frequently – in color.  So we looked for something that is economical but at the same time does not skimp on print quality.  We decided to get EPSON Inkjet All-in-one printer as recommended by my IT Consultant/husband (*wink *wink).

It is easy to setup, has a copier and scanner function and is wireless.   This printer features an inktank which comes with 4 liquid ink colors – cyan, yellow, magenta and black (with 2 extras).  If you run out of cyan, you only need to replace the cyan ink.  No need to buy cartridges.  Pretty neat huh? We have been using this for 3 years and is indeed economical.  We have printed over 5,000 pages in color and have changed only one ink so far.  Definitely worth the investment!

Paper

We use a normal 80gsm matte A4 paper for printing curriculum.  Nothing really fancy.  They are more affordable and does not have any distractive glare.  Printing on both sides is always practical as it not only saves paper but also reduces the thickness of the printed material. Great with History and Science books, if you know what I mean.  For those who are wondering what GSM means.  It simply refers to the thickness of the paper. The higher the number the thicker the paper.  We have used 120 gsm for full-page colored book reports, book covers, activity packs, flashcards and photos with no issues at all.

Binding

We DIY-bind our books using a comb-binder machine.  I’m sure you’ve seen one of these.  If you haven’t already, this machine is fantastic!  It can punch 10-20 pages at the same time and has a function that binds your book all at once using a coil.

An alternative to comb-binder machine is to use a 2-hole punch.  Just punch all the pages and put them neatly in a 2-ring binder.

Comb binding would usually require a separate plastic film as a front cover and a cardstock for the back cover. I realized though that they don’t really last that long.  So I figured out a way to make a cover using my favorite homeschool equipment – the laminator!

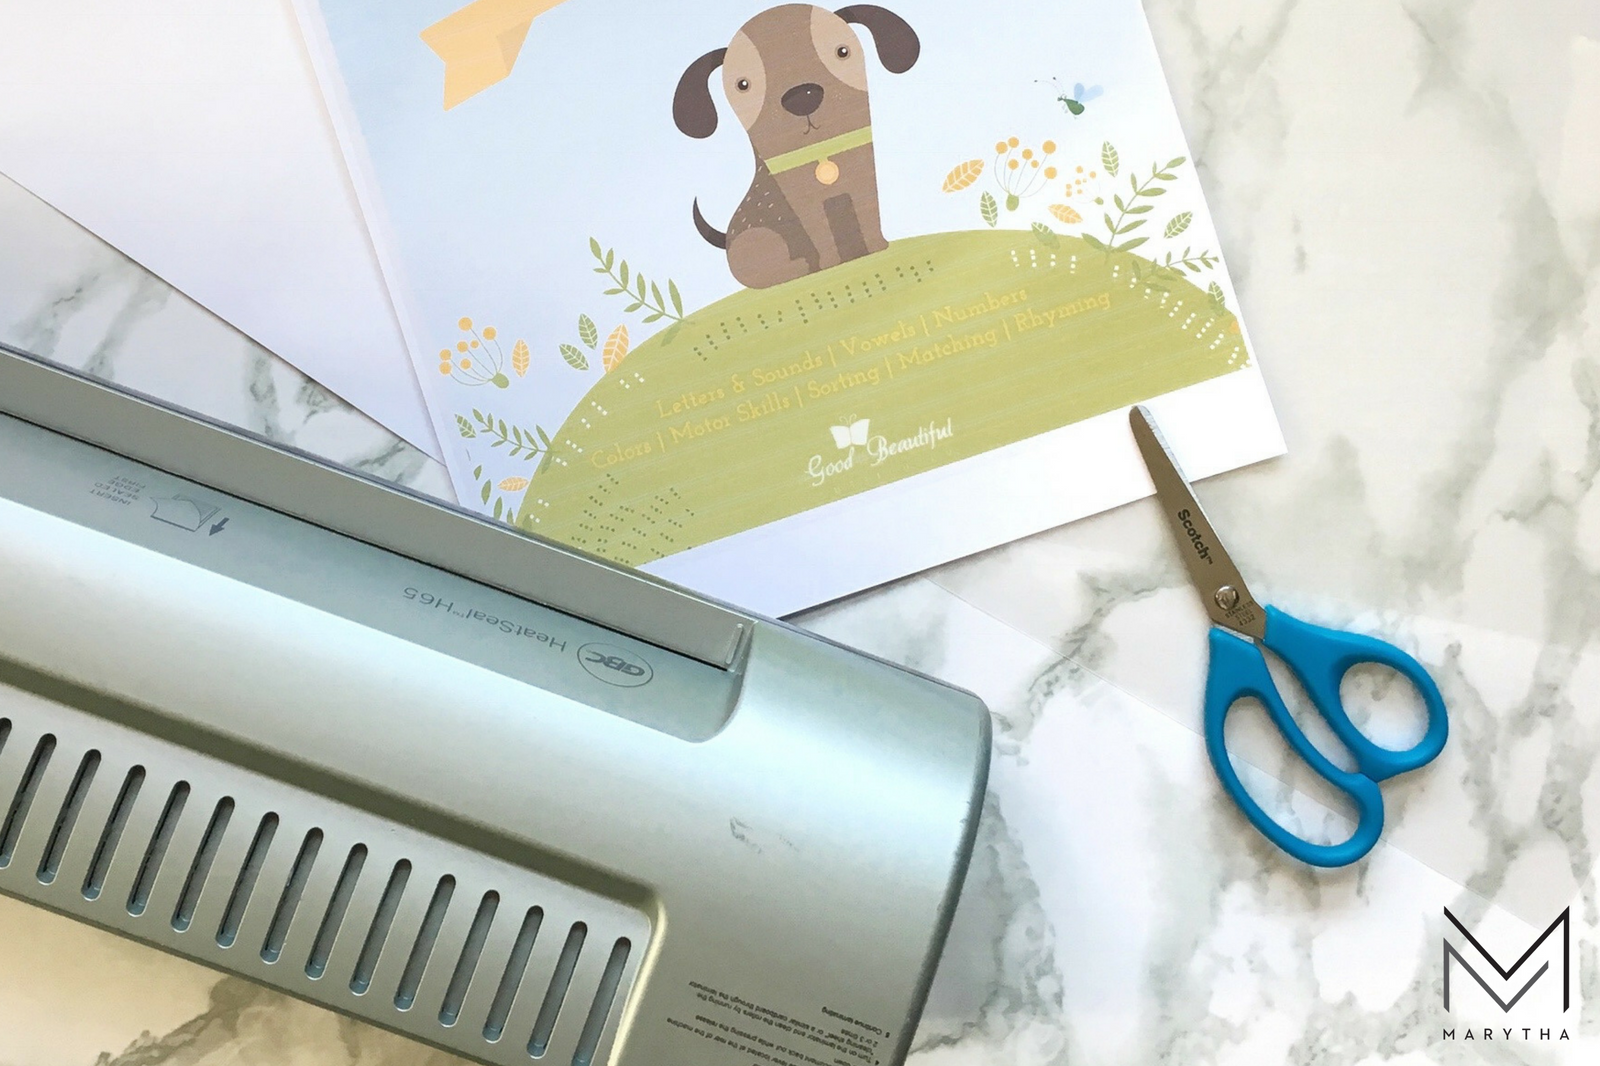
Here’s what you’ll need:

  • Front and back cover of your curriculum printed on a cardstock (preferably 120gsm thick).
  • A4 size laminating pocket
  • Laminator
  • Scissors

homeschooler's guide to printing digital curriculum1Here’s what you’ll need to do:

  1. Start by turning on your laminator and set it to the highest heat setting.  This ensures that the cover will not fall apart once laminated.
  2. Once your machine indicator light turns green, take your front and back cover together. Wrong sides facing each other.
  3. Place them inside the laminating pocket carefully making sure that all sides are within the laminating pocket.homeschooler's guide to printing digital curriculum
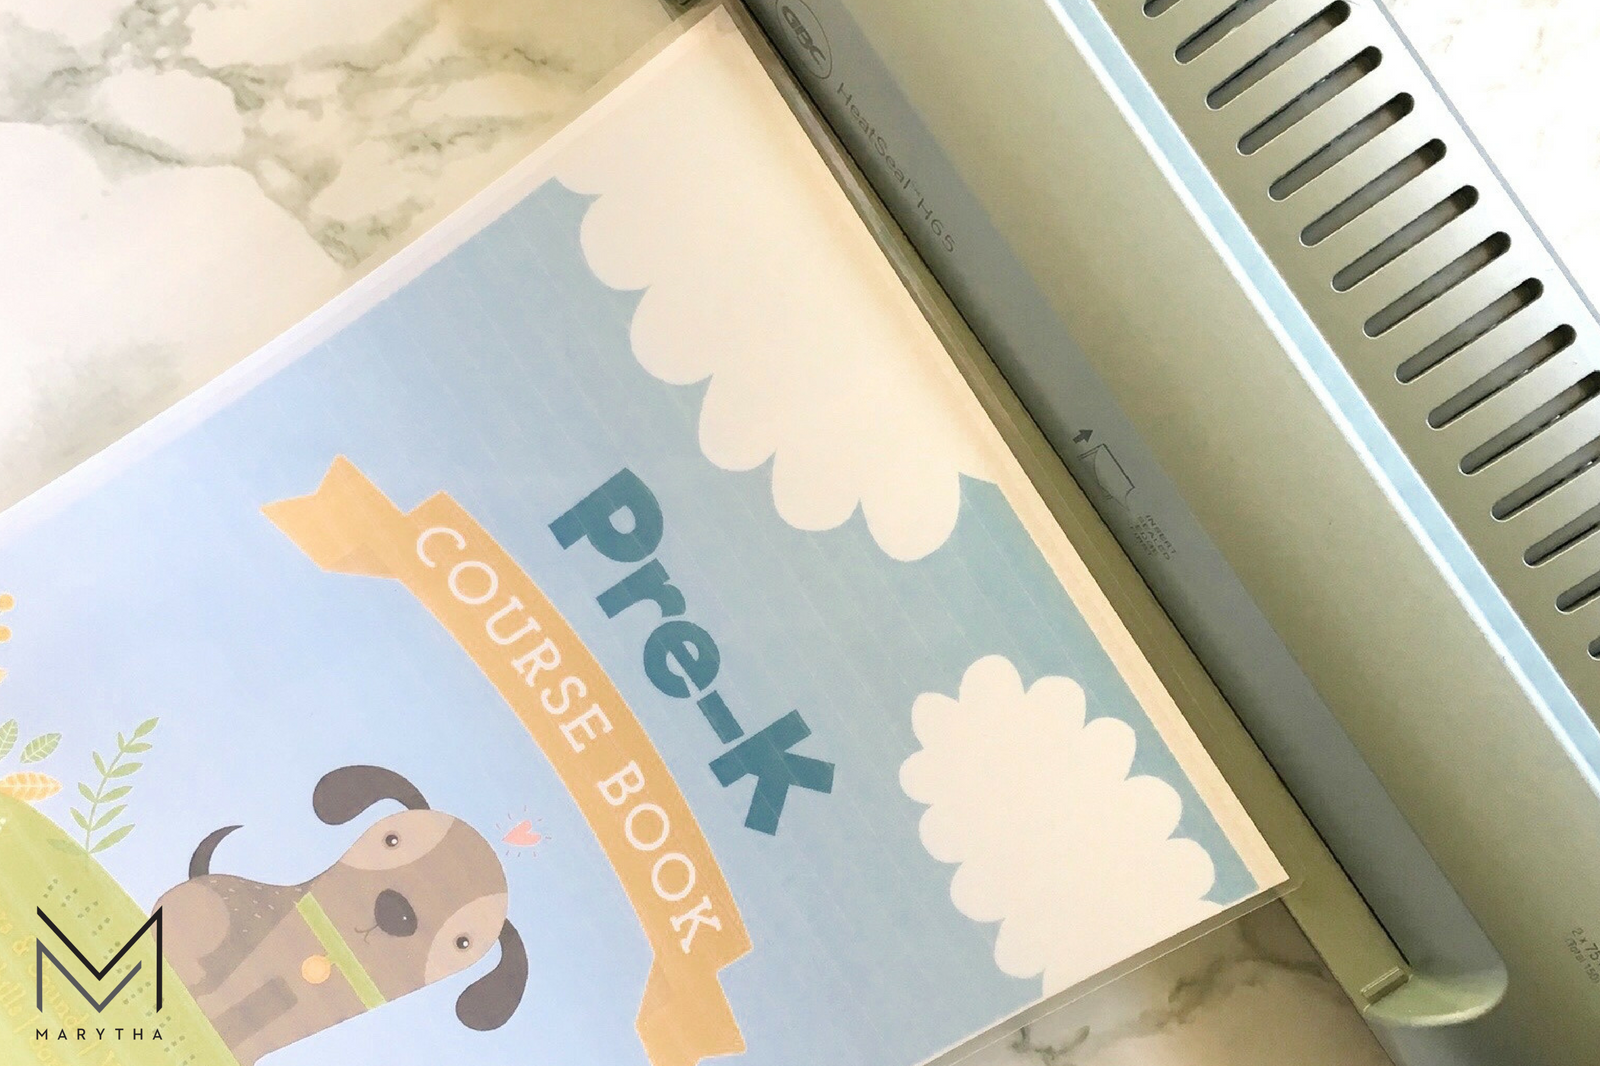
  4. Insert the laminating pocket (sealed edge first) in the laminator.homeschooler's guide to printing digital curriculum
  5. Let the sheet cool down for a few minutes.
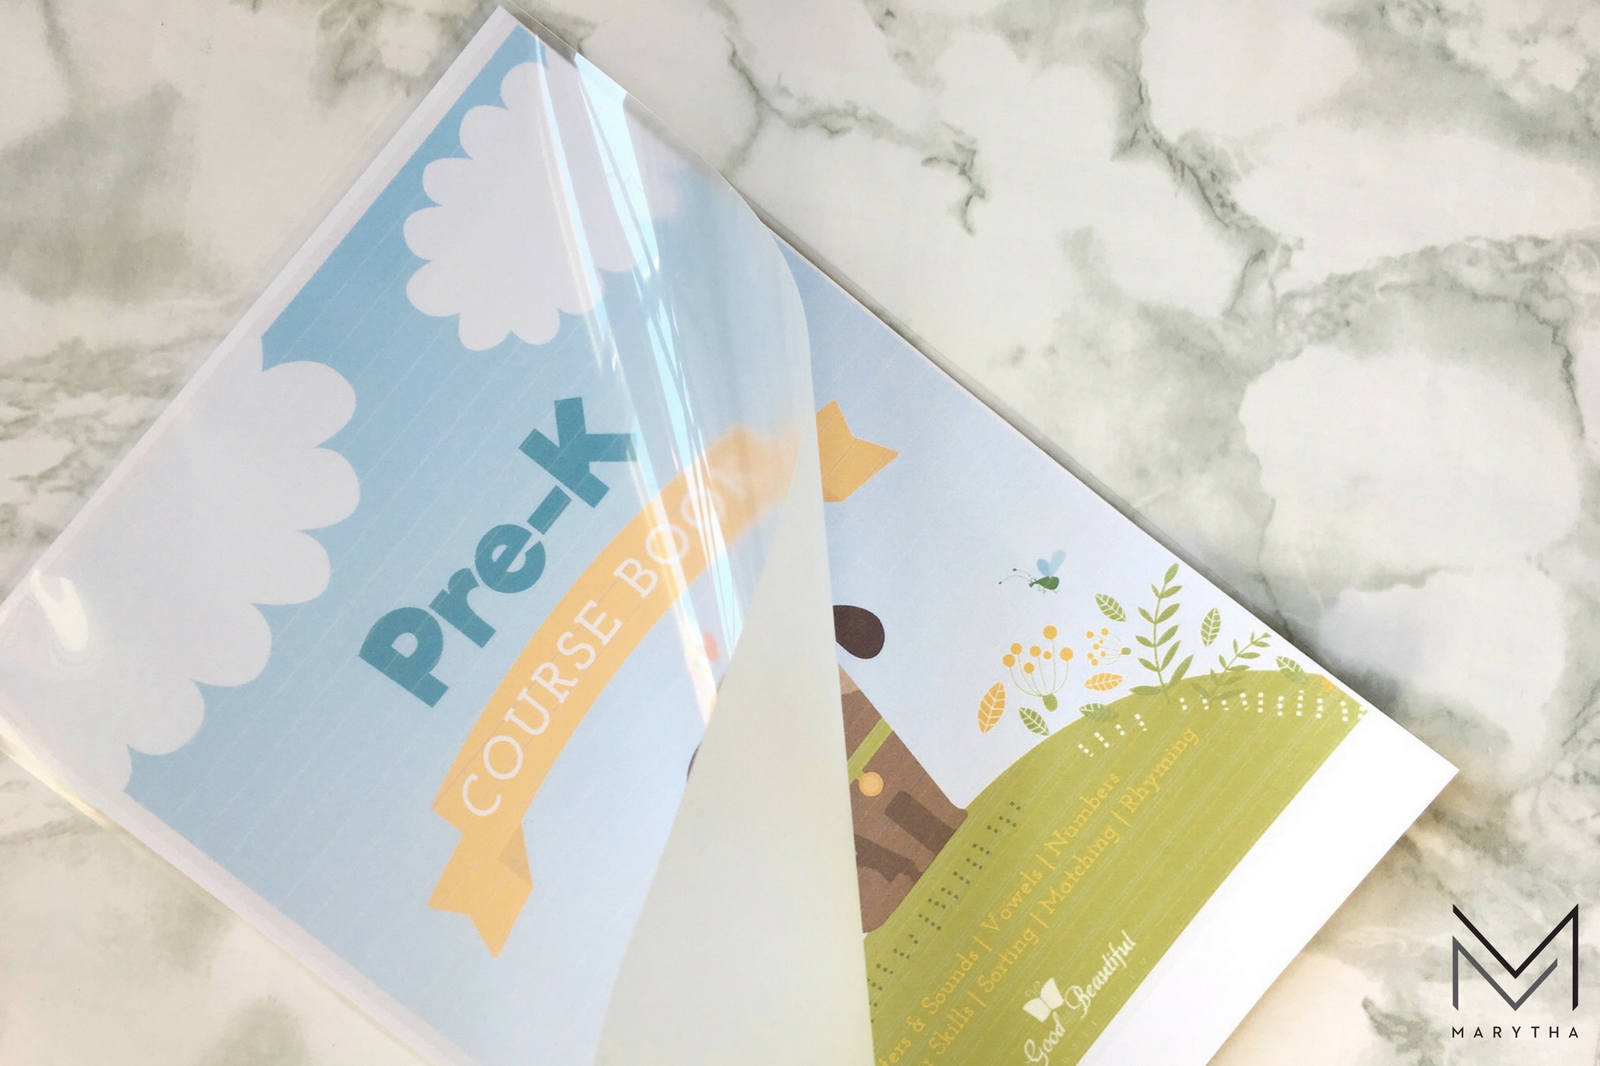
  6. Cut close to the edge of the paper.  You should be able to open the lamination once all the sides are trimmed.homeschooler's guide to printing digital curriculum
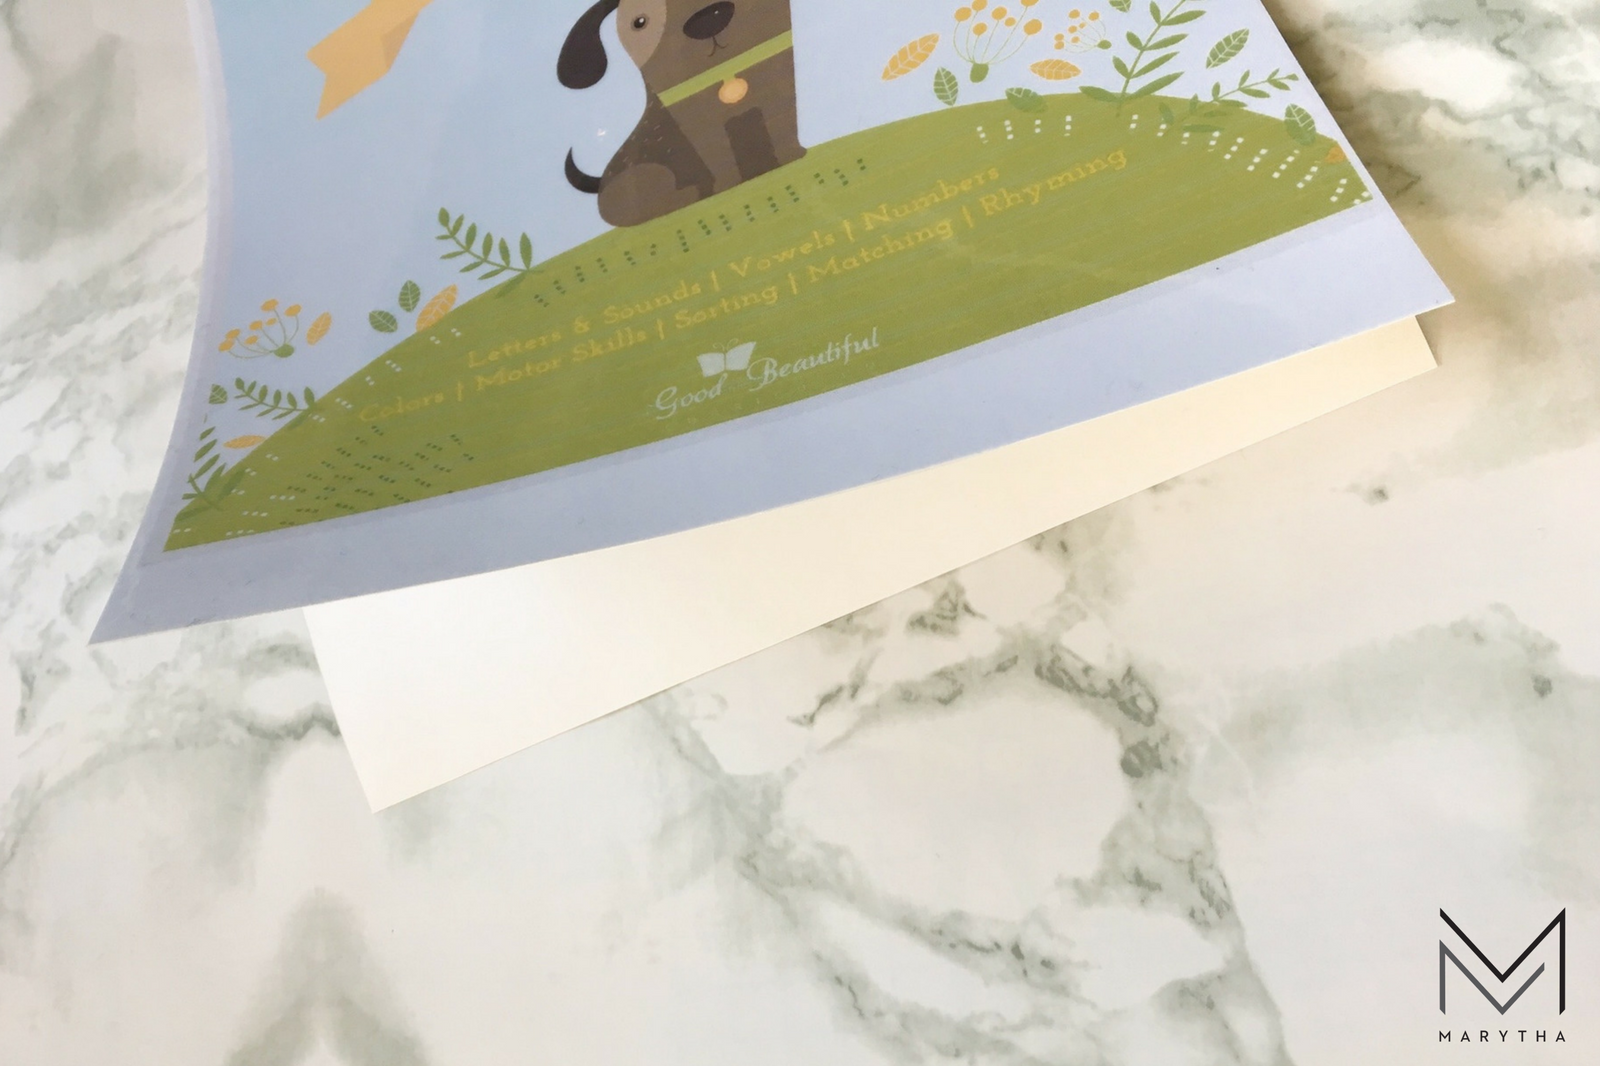
  7. The corners will be pointy so trim those off to a rounded edge before you bind them.  And there you go! Enjoy your new and shiny printed curriculum!  homeschooler's guide to printing digital curriculum


Do you have any tips to share on printing, laminating and binding digital curriculum?  I’d love to hear from you.

Till next post! Blessings!

  • Share on Facebook (Opens in new window) Facebook
  • Share on Pinterest (Opens in new window) Pinterest

By: Monday · In: Homeschool · Tagged: digital curriculum, homeschool, printing

Get the Latest

Comments

  1. Unknown says

    April 7, 2019 at 9:45 pm

    This is actually helpful, thanks.

    Reply
    • Monday says

      April 21, 2019 at 11:19 am

      Pleasure! Thanks for stopping by.

      Reply
  2. Harley says

    July 13, 2019 at 11:48 am

    Thank you for the terrific post

    Reply

Leave a Reply Cancel reply

Your email address will not be published. Required fields are marked *

Hello

Hi there! I'm delighted you are here. Stirred by grace and God-breathed purpose, I pen my thoughts about the genuine struggles and rewarding journey of homeschooling, family life and faith.

Stay Updated

Search

Recent Posts

singapore math curriculum

Singapore Math Review – Is it Difficult?

GB Pockit Plus Stroller – Compact with Powerful Features

prek-homeschool-curriculum-marytha

Homeschool Preschool Curriculum | The Good and the Beautiful

Categories

  • Family
  • Homeschool
  • Lifestyle

Products we love


The Talk - A Christian Parent's Guide
Answers Bookstore

Youtube Channel

https://youtu.be/gZ_Ha-VZDNo
This weekend reminded me why I love doing markets. This weekend reminded me why I love doing markets.To everyone who stopped by my booth, shared kind words, made a purchase, followed on socials, shared and liked our posts, or simply took the time to admire  handmade pieces, thank you sooooo much! Every bit of support means more than you know.Seeing my creations find their new homes is the best part of what I do.If you missed this market, don't worry. More events are coming soon! Until then, you can always send me a message for custom orders or check our website for what's still available.Thank you for supporting handmade and choosing to shop small. It truly means the world to Marytha Studio.#yegmarket #yegsmallbusiness #BibleSleeve #marythastudioco
#quiltedbags
I don't need it... until I see it. We're popping I don't need it... until I see it.We're popping up at Malla Market today.📍Kingsway Mall#MarketDay #marythastudioco #handmadesmallbusiness
Bins packed. Displays loaded. Handmade pieces car Bins packed.
Displays loaded.
Handmade pieces carefully tucked in.
Double-checking that I didn't forget the card reader. 🤭If you're heading to Malla Market tomorrow, come stop by and say hi. We'll be there on Saturday only.I can't wait to see familiar faces and meet new ones.#yegmarkets #marythastudioco #yeglocal #MarketDay
Happy Canada Day! June flew by faster than I coul Happy Canada Day!June flew by faster than I could thread my sewing machine.From late-night market prep, to packing online orders, sewing custom pieces, and somehow sneaking in one knot bag just for me... June kept us busy in the best way.Thank you to everyone who shopped, shared, and supported this little handmade business. Every order means more than you know.Comment LOVE if you'd like me to bring the knot bag to @mallamrkt this Saturday.
This is your "Where did you get that?" bag. See t This is your "Where did you get that?" bag.See the full collection this Saturday, July 4 (10-5) at Malla Market, Kingsway Mall#yegmarkets #yegsmallbusiness #minitote #patchworktotebag #yeghandmade
Because your hair tools deserve a bag of their own Because your hair tools deserve a bag of their own. 🤍Meet our NEW Hair Tools Bag! Made to keep your curling iron, straightener, brushes, and hair essentials organized whether you're at home or on the go.Launching soon. Stay tuned. ✨#marythastudioco #yegmarkets #yeglocal #hairtoolsbag
When someone says, "I came to the market just to b When someone says, "I came to the market just to buy from you"And I was not at the market. 😭So sorry, my lovelies!See you on July 4th at Malla Market.New booksleeves to drop soon!
This spacious bag keeps all your beauty essentials This spacious bag keeps all your beauty essentials in one place, so you're not digging through your suitcase every time you need something.Sunscreen for a quick pit stop? Easy to find.
Lip balm? Right where you left it.
Makeup, skincare, and travel must-haves? Organized and ready to go.Find these beauty bags at Malla Market on July 4 and August 22 at Kingsway Mall.#girlsgetaway #travelessentials #boxybag #bestiegifts #weekendtrip

Copyright © 2026 Marytha · Theme by 17th Avenue